


 j
jCreate an LWR Site
Create Custom Pages
Create Theme Layouts in an LWR Site
Create Custom Layout Components
Create a Custom Navigation Menu Component
Publish Your LWR Site
Experience Delivery (Beta)
Previous Versions
Select the Build Your Own (LWR) or the Microsite (LWR) template to create an LWR site in Experience Cloud.
From Winter ’23, the way you create an LWR site has changed in two key ways.
/s at the end of their URLs. See Custom URL Paths in LWR Sites.To create an LWR site:
From Setup, in the Quick Find box, enter Digital Experiences, then select All Sites, and click New.
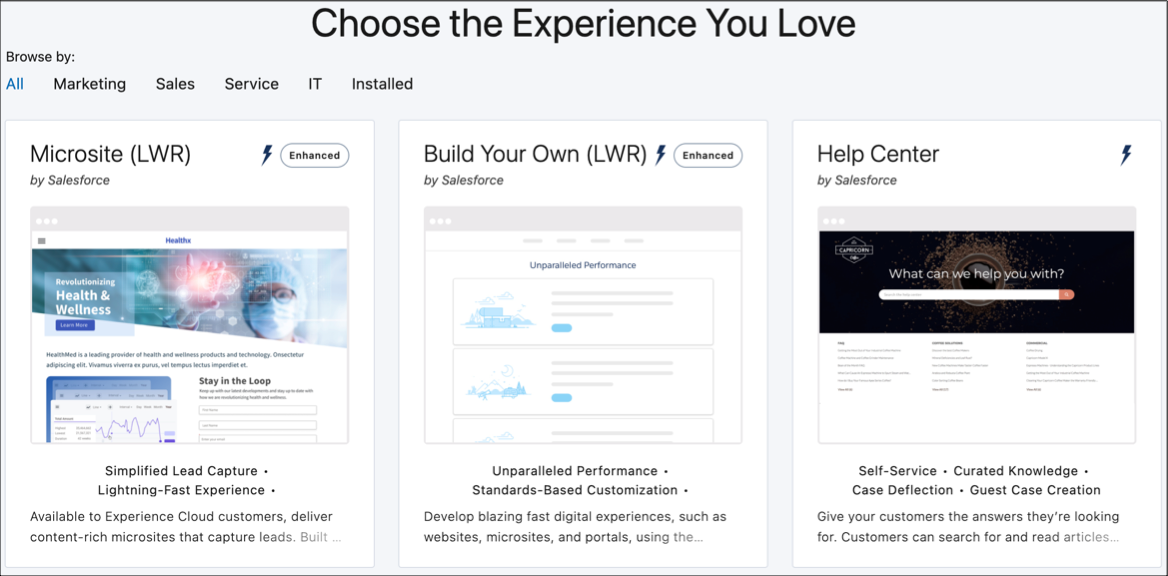
In the site creation wizard, select Build Your Own (LWR) or Microsite (LWR), and click Get Started.
Enter a name and base URL value.
The base URL value is appended to the domain that you created when you enabled Digital Experiences. For example, if your domain name is UniversalTelco.my.site.com and you’re creating a partner site, you can enter partners to create a unique URL UniversalTelco.my.site.com/partners.
Click Create.
After you create your site, the Experience Workspaces area appears.
You can also create the site programmatically through Connect API or using Salesforce CLI commands.
See Also
j